







[Tech Talk] Headless Raspberry Pi Installation
Raspberry Pi basics: the Raspberry Pi is a Linux-based single-board computer. It's tiny, yet it comes with plenty of built-in ports such as USB, HDMI, a camera interface, and a Wi-Fi module. Its development ecosystem is mature, so you can build all sorts of things with it. I recently bought an Echo Dot and plan to hook it up to some infrared devices at home, so I dug out the Raspberry Pi 3 I bought a while back.
 Khan LeeCTO
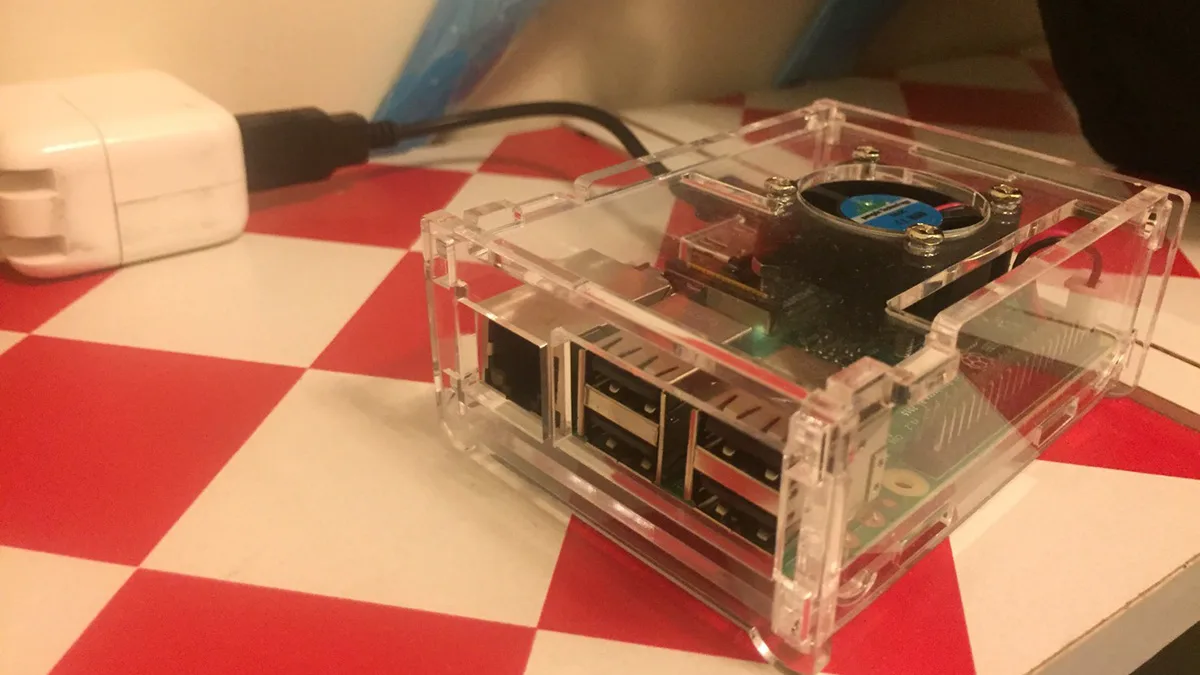
Sorry — my previous posts were honestly pretty bad. This one has a bit more substance, and I hope it helps anyone just getting into the Raspberry Pi world.
This post walks through a headless Raspberry Pi installation and connecting to it over SSH. The goal: reach the Pi at home from your phone while you're out. The Raspberry Pi is a blast — go get one and use it as your own little private server.

1. Meet the Raspberry Pi
The Raspberry Pi is a Linux-based single-board computer. It's tiny, but it packs plenty of built-in ports,
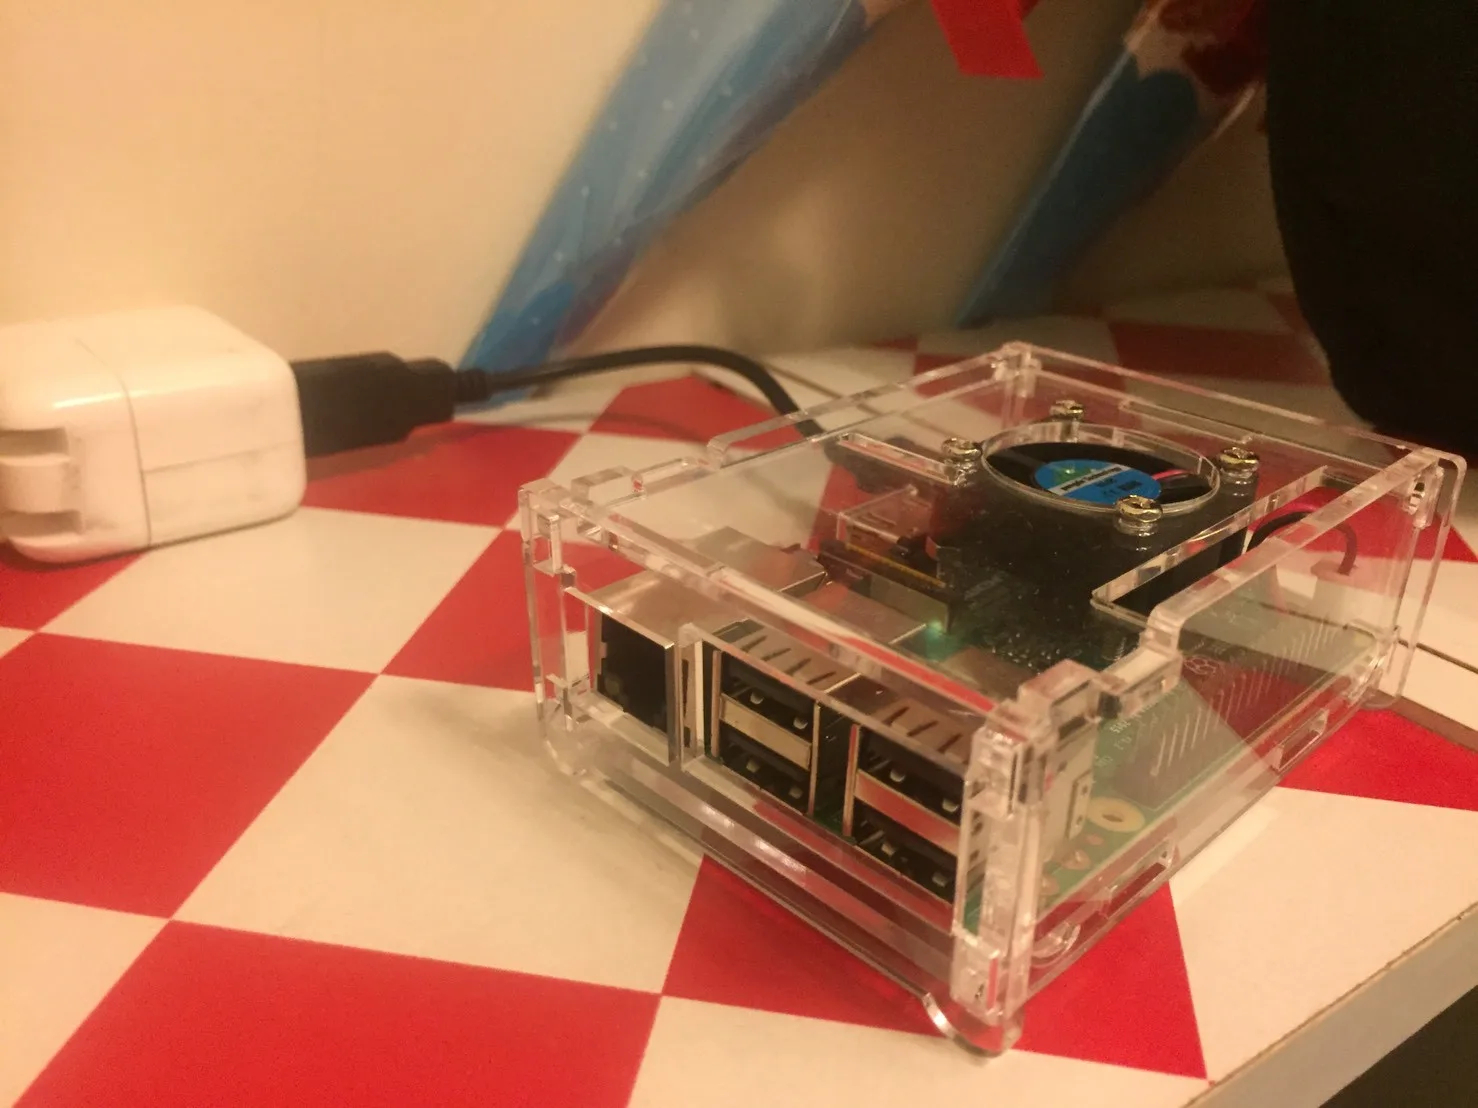
such as USB, HDMI, a camera interface, GPIO pins for sensors, plus Bluetooth and Wi-Fi modules.
Its whole development ecosystem is mature, so you can build a lot of things with it.
I recently bought an Echo Dot and plan to hook it up to some infrared devices at home, so I dug out the Raspberry Pi 3 I bought a while back.
For an introduction and use cases, head over here. A few fun projects I came across: building a supercomputer and an Echo Dot.
There are tons more — a quick search turns them up — so it really is super, super fun.
2. Before You Install
If you haven't bought a Raspberry Pi yet, I recommend the Pi 3 — that way you don't need to buy a separate wireless adapter! This tutorial is based on the Pi 3, too.
I also strongly recommend buying from Taobao. It's way cheaper — under NT$1,000 per board.
Once you have it, installation is a bit of a hassle, because you need a pile of accessories: a keyboard, mouse, monitor, Ethernet cable, and so on.
But! We're going headless, which means skipping all that gear and getting our Raspberry Pi up and running directly!
It's a lot simpler, but you still need a few things lol
Here's the equipment list:
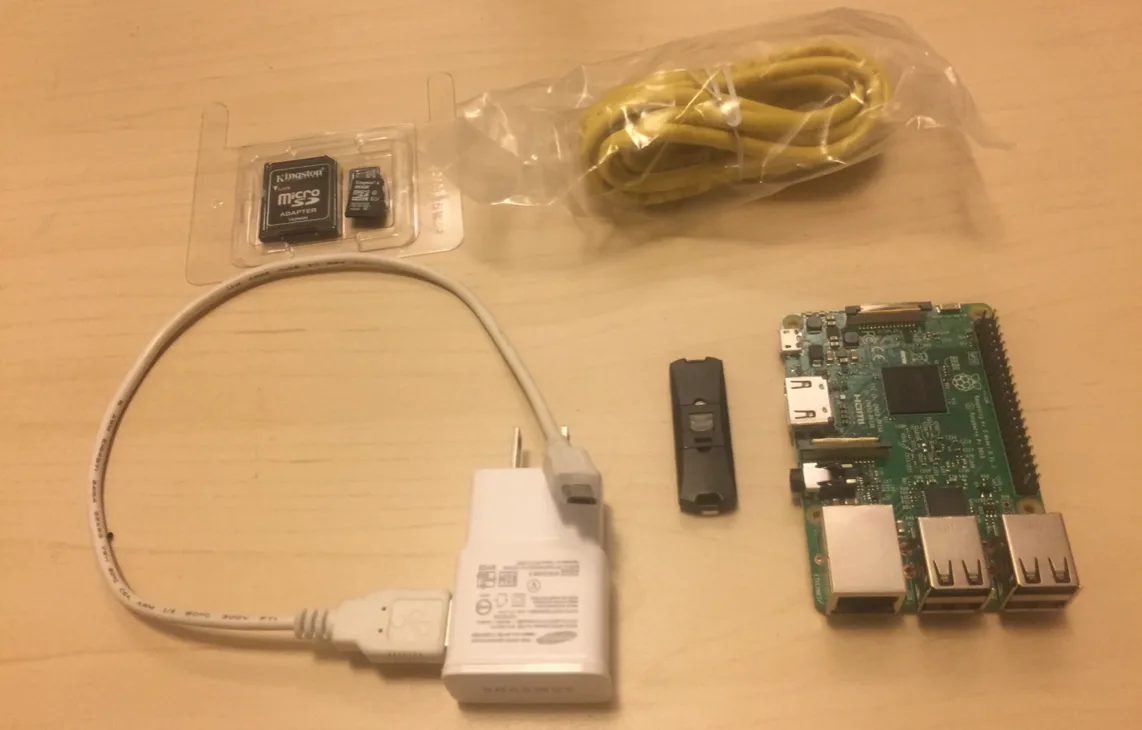
1. One Raspberry Pi 3, set aside
2. One 8 GB / 16 GB memory card, set aside (I bought a 16 GB one)
3. One power cable, coiled and set aside (micro USB — the kind older Android phones use; under NT$100)
4. One SD card to USB adapter
5. One Ethernet cable, set aside
With your ingredients ready, first heat the wok, then add a spoonful of oil and bring it to medium-high heat.
3. Flash the Image to the Memory Card
The Raspberry Pi supports many operating systems. I was torn between Raspbian and Ubuntu MATE, but after some reading I went with the former: more documentation, better compatibility, and faster boot and shutdown.
Besides, newbies like us should just stick with the official software, right?
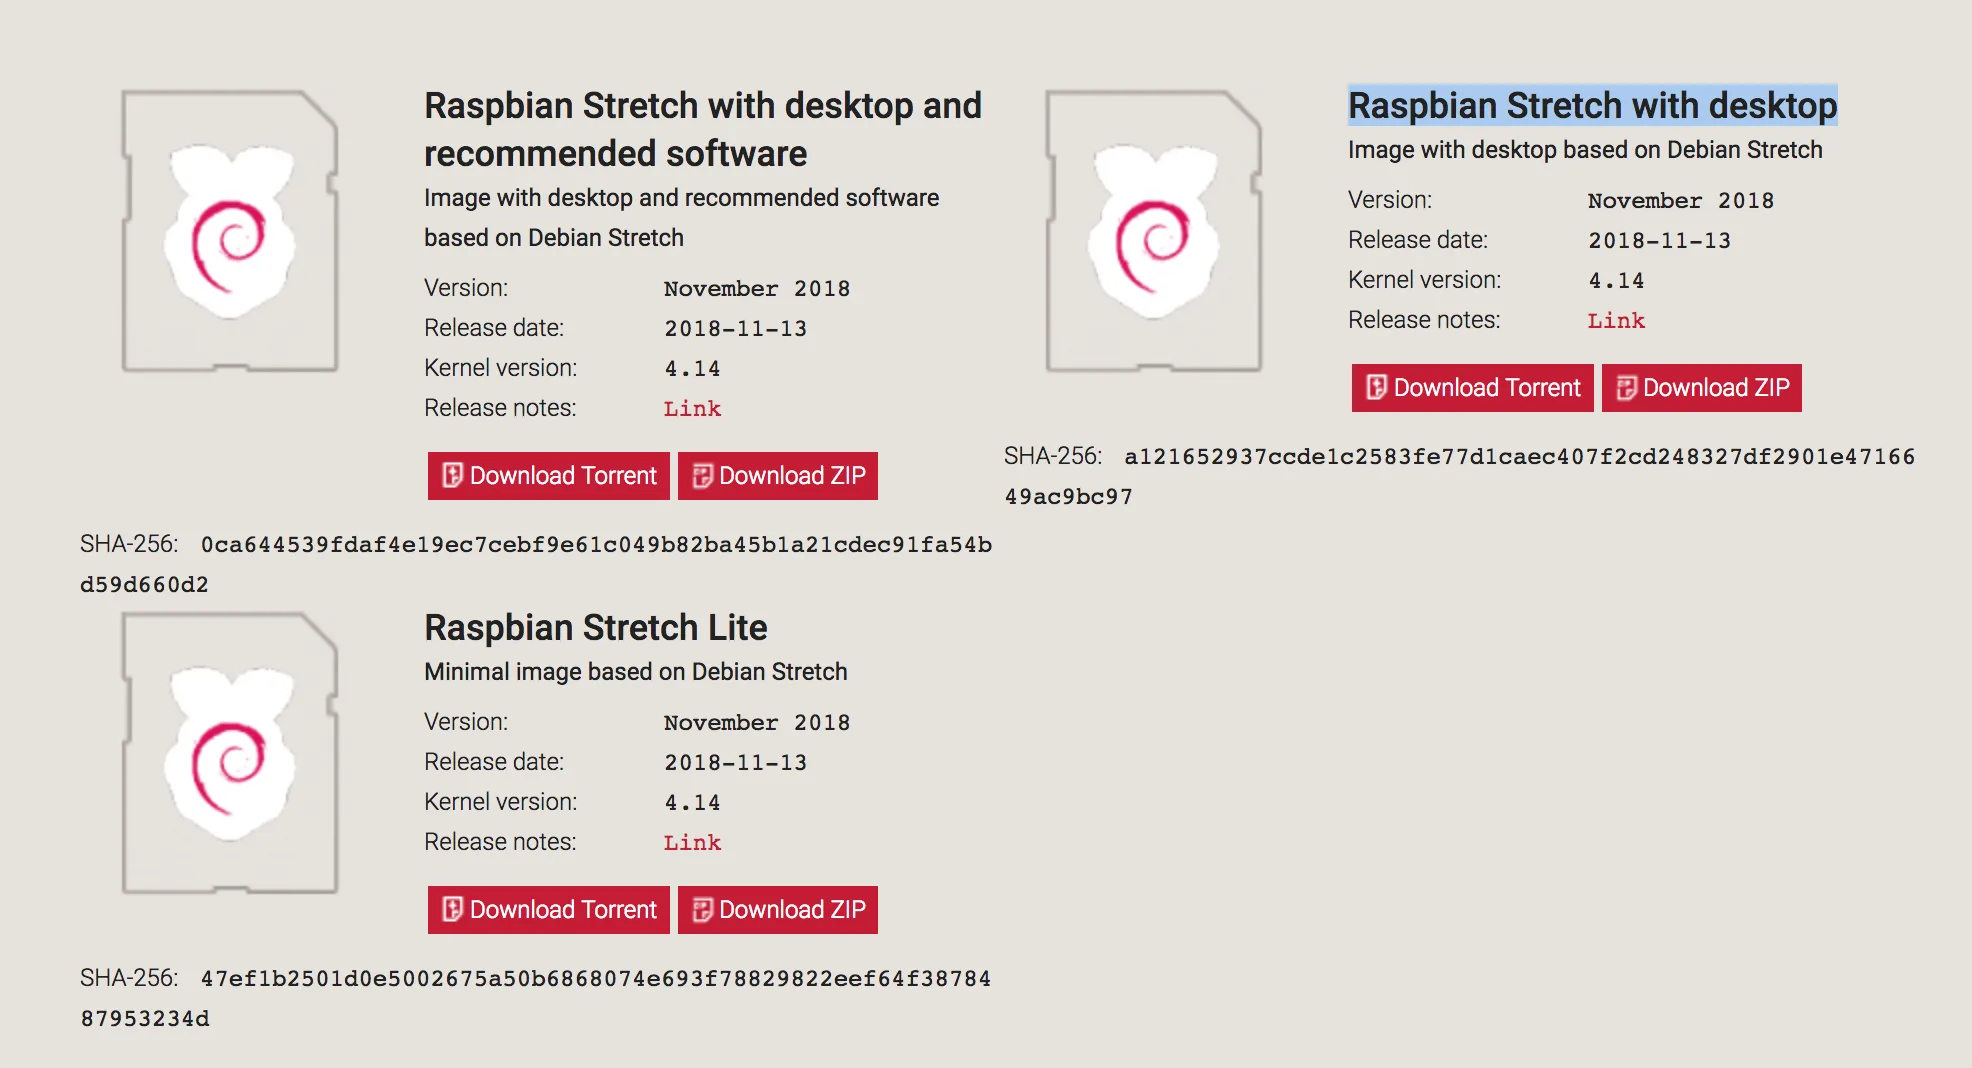
OK, go straight to the official site, find Raspbian Stretch with desktop, and click Download ZIP. Heads-up, newbies: don't grab the Lite version — it has no desktop!
While it downloads, plug the memory card into your computer. Once the download finishes, unzip it to get the image file (.img).
There are many ways to flash it. I use etcher. Mac users can try Apple Pi Baker, but it hasn't been updated in ages, so I only use it to format memory cards.
Etcher is simple and intuitive, so I won't insult your intelligence QQ
By now, you should have flashed the image onto the memory card.
4. Enable SSH on the Raspberry Pi
In this step, we turn on SSH access on the Raspberry Pi so that once it boots and connects to the network, we can hop in over SSH.
Plug the flashed memory card back in. You should see it renamed to boot. Inside boot, add a file named ssh with no content — just open Sublime and save an empty file named ssh into boot.
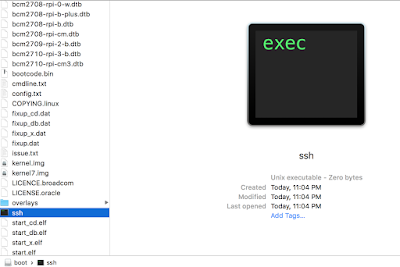
SSH is now done, and you can move on to Wi-Fi settings. If you're on Linux, you should see another drive besides boot,
and that drive is where we'll change the default network settings.
If you're not on Linux, you can download this, which lets us boot from USB. I find it a bit of a hassle, though, so I'd rather pull out the Ethernet cable and just connect the Pi to the home network first.
5. Set Up the Raspberry Pi's Network Connection
First, insert the flashed memory card into the Raspberry Pi and connect the Ethernet cable and power; the Pi boots automatically. Your home router should automatically assign it an IP address, so we need to log in to the router and find that IP.
Usually, you just type 192.168.0.1 or 192.168.1.1 into your browser and the admin page appears. The username is usually admin and the password is usually password or 1234 — look up your router model to be sure.
After logging in, I found this:

So, on my laptop connected to the same network, I entered this in the terminal:
ssh pi@192.168.0.14
Once connected, you'll be asked for a password. Mine is raspberry — and so is yours.
And then you'll see this!!!
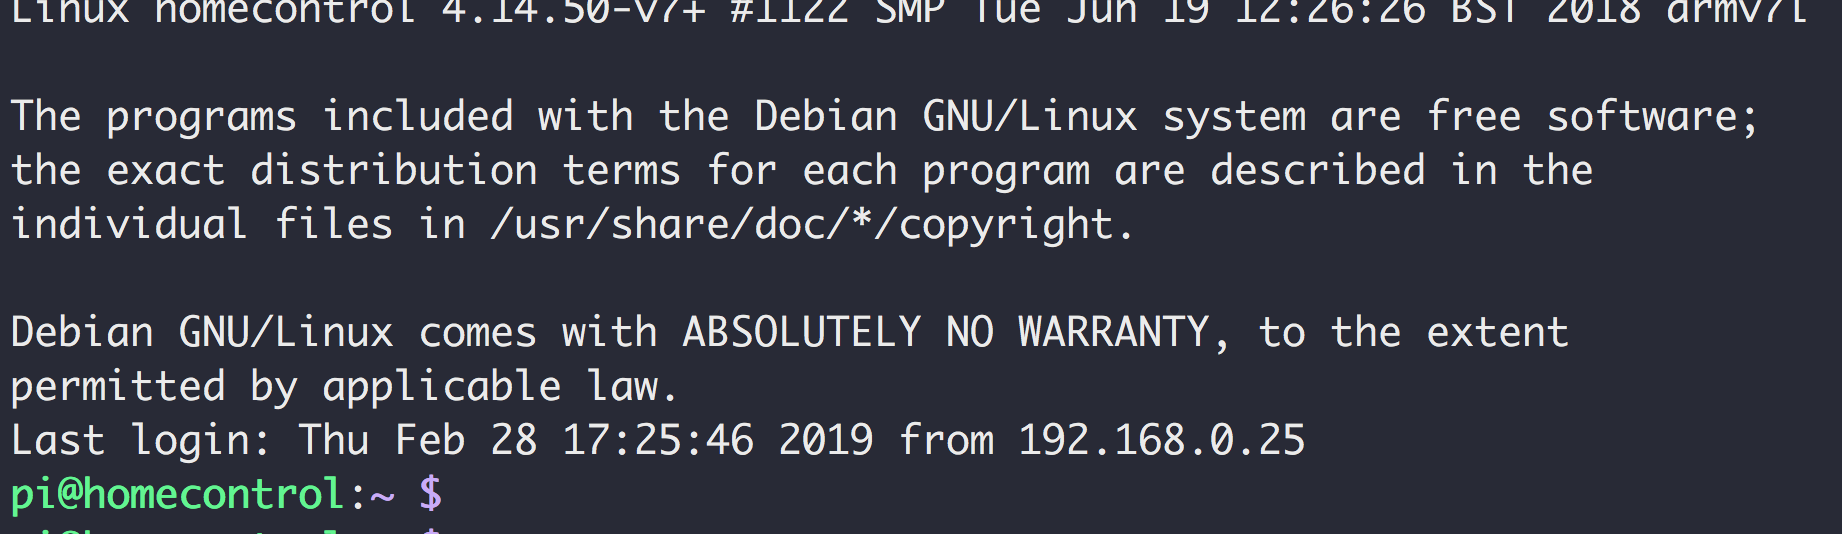
Once we're inside the Pi, we can change its network settings. First, enter:
sudo nano /etc/wpa_supplicant/wpa_supplicant.conf
You'll see the top part shown here. Everything from network onward you need to add yourself:
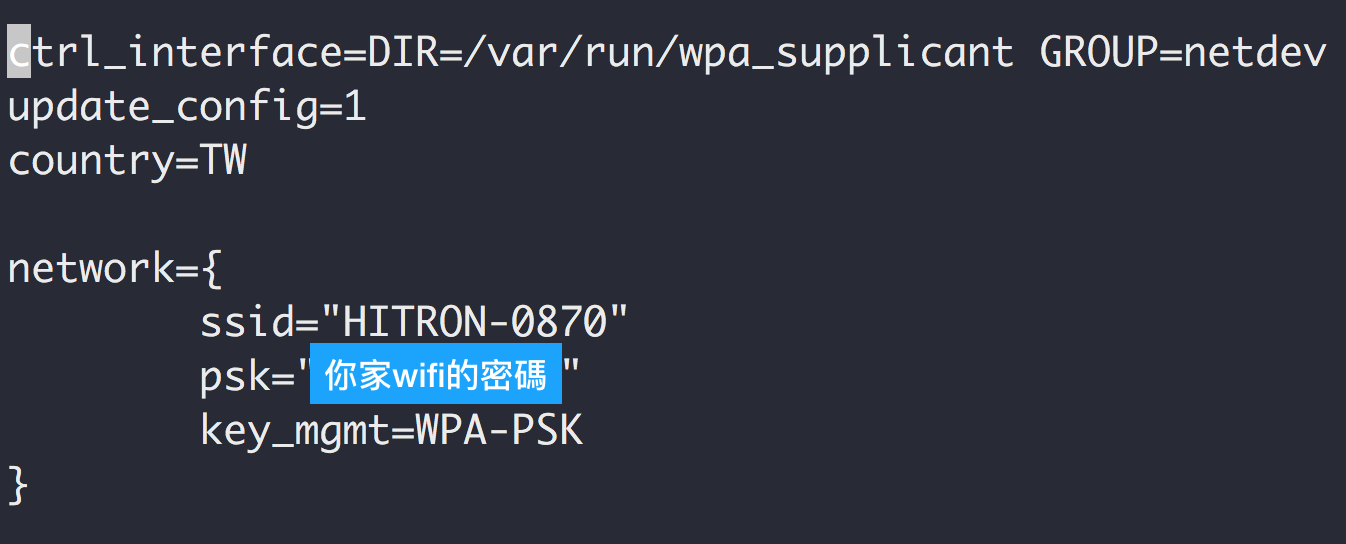 ssid: your home Wi-Fi name
This step tells the Raspberry Pi to look for this Wi-Fi network on every boot and connect with this password.
Next, we need to let the Raspberry Pi boldly claim the IP address it wants. In the terminal, enter:
sudo nano /etc/dhcpcd.conf
Once it opens, scroll to the bottom and add the following:
interface eth0
static ip_address=192.168.0.100/24
static routers=192.168.0.1
static domain_name_servers=8.8.8.8
interface wlan0
static ip_address=192.168.0.101/24
static routers=192.168.0.1
static domain_name_servers=8.8.8.8
eth0 is the assigned IP for the wired connection, and wlan0 is the assigned IP for the Wi-Fi connection.
For static ip_address, enter the IP address you want the Pi to claim — anything from 10 to 200 works. But watch that 0: make sure the Pi is on the 0 subnet, which is basically the subnet of the IP you just used to reach the router.
Be careful with static routers: it must be the IP address you just used to reach the router.
For example, if you typed 192.168.10.1 to reach the router, what should you enter?
static ip_address=192.168.10.101/24
static routers=192.168.10.1
That's it — all done! Next, enter:
sudo reboot
You'll be disconnected from the Pi. Next time, remember to connect with:
ssh pi@192.168.0.100
6. Wrapping Up
You can do so much with a Raspberry Pi: run a chatbot service, use it as a web crawler, host a tiny database, or control your home appliances — all genuinely practical uses.
If this post helped you, please give it a clap. Thanks!
-